
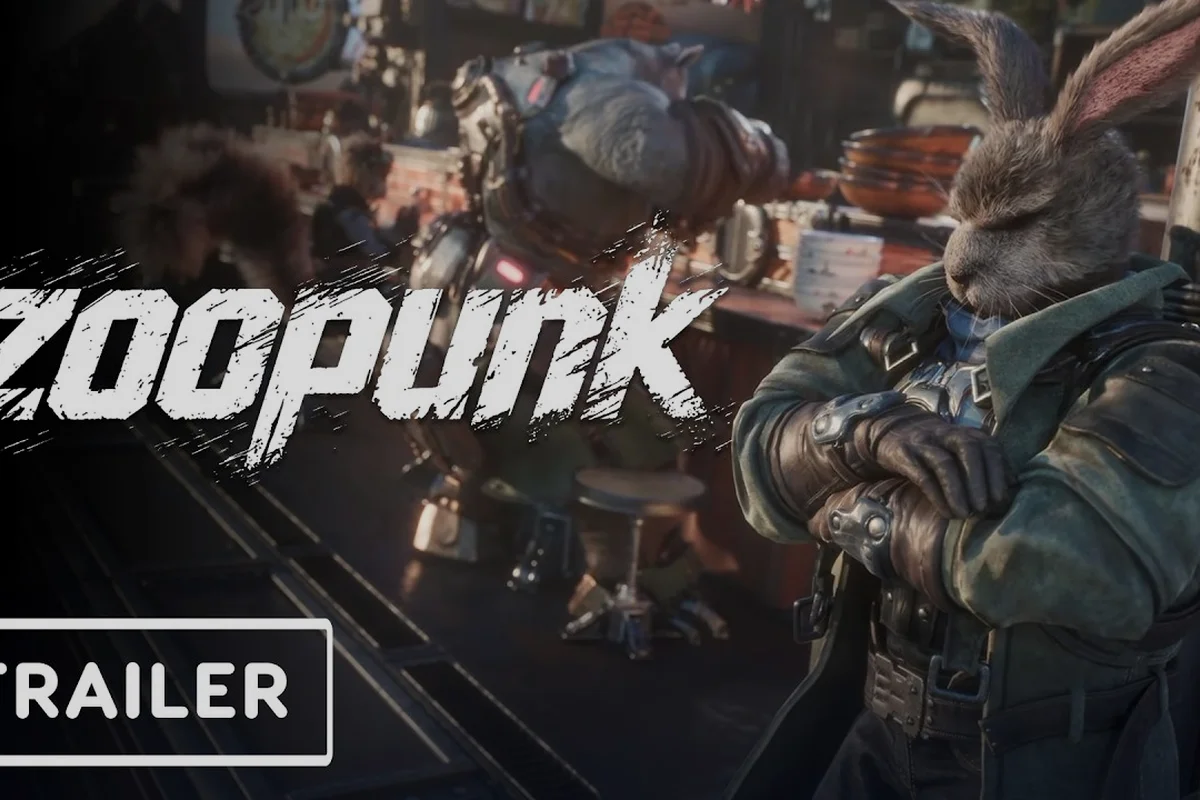
Upgrading the right ability first is the difference between a squad that stalls at the first War Machine and one that walks into the final phase with every tool already online. This Zoopunk skill guide walks you through the layered progression system that governs Rayton's twin whips, Braton's iron fists, and Trixie's aerial tech kit, plus the modification paths the official site frames as "every modification is an act of defiance against fate" (official Zoopunk website). You will learn how personal skills, shared assist abilities, and gear upgrades interlock, and where to spend your early Fire Seed scrap so the payoff compounds across every chapter.
How the Zoopunk Skill and Upgrade System Layers Together
Zoopunk runs three overlapping progression tracks: per-hero ability kits, shared squad-level assist skills, and a modification-driven equipment layer that changes how every weapon and prosthetic actually feels in your hands. According to the official site copy, the modification culture is the narrative skin of the upgrade system, which means body mods and weapon mods are tied directly to each hero's identity rather than floating as generic stat boosts.
Community testing shared across the Zoopunk Discord and the November 2025 reveal trailer breakdown suggests the system works like a skill tree with three branches per hero. Rayton leans into whip range and combo extensions, Braton stacks stagger and armor, and Trixie focuses on aerial tech, drone cooldowns, and shield-burst utility. Squad-wide assist skills — the cross-hero cooldowns you see in the "Braton & Trixie Drop In!" squad short — sit on their own shared track.
| Progression Layer | Scope | Primary Currency | Example Effect |
|---|---|---|---|
| Personal Hero Skills | Per character | Skill Points | Rayton gains extended whip sweep hitbox |
| Shared Assist Skills | Squad-wide | Squad Medals | Trixie flyover strafes trigger on swap-in |
| Weapon Mods | Per equipment | Mechanoid Components | Twin whips gain shock element on crit |
| Body / Prosthetic Mods | Per hero | Scrap + Rare Alloys | Braton's iron fist gains shockwave on heavy |
A clean way to think about the layered system: personal skills raise your floor, shared assist skills raise the squad's tempo, and mods raise the ceiling on what a fully optimized build can do against a boss. Each layer feeds the next one rather than competing with it, so a beginner who invests in personal skills first will still benefit from later mod work because the kit baseline is already strong.
Reading the Three Pillars: Personal, Shared, and Gear
Personal Hero Skills are the bread and butter of any Zoopunk upgrade guide because they directly raise the damage, range, and utility of the kit you spend the most time controlling. The official "Rayton's Whip Fury" trailer caption — "twin whips maxed out" — shows a visibly wider sweep hitbox and a longer chain window compared with the base moveset from the November 2025 reveal, which is the cleanest in-game evidence we have of a skill-tree ceiling for a single weapon.
Shared Assist Skills are the cross-hero cooldowns that activate when you tag in or call an ally. The squad short shows Trixie arriving via flying tech while Braton lands with a heavy iron fist slam, and these assist abilities behave like cooldown skills shared across the squad rather than locked behind one hero's level.
Gear and Prosthetic Mods are the part of the upgrade guide that ties directly to the modification culture the official site keeps emphasizing. Mods are slotted into weapons and prosthetics, so two players running identical personal skill builds can feel completely different once one of them has slotted the right combination of Mechanoid Components.
Rayton's Whip Build: Skills, Mods, and Ceiling Priorities
Rayton is the mid-range anchor of the squad, and his twin whips are the cleanest example in the game of how a weapon evolves as you push it up the upgrade ladder. Based on the "twin whips maxed out" caption from the official trailer, the maxed-state version of the kit extends combo length, widens the sweep angle, and unlocks a pull-in snap that lets Rayton drag Mechanoid grunts into the squad's burst window.
The base kit rotates around three core inputs: a quick jab, a wide sweep, and a charged pull-in. As you push the weapon up the upgrade ladder, each of those three inputs gains a follow-up branch — the jab chains into a second strike, the sweep opens a 180-degree arc, and the pull-in gains a yank that staggers anything lightweight. Pairing that ceiling with the right personal skills is what turns Rayton from a competent solo duelist into the squad's primary stagger source.
| Whip Input | Base State | Upgraded State (Skills + Mods) | Best Use Case |
|---|---|---|---|
| Quick Jab | Single-hit poke | Chains into second jab + combo extender | Stagger fishing against fast Mechanoids |
| Wide Sweep | 90-degree arc | 180-degree arc with shock mod on crit | Clearing adds during a boss phase shift |
| Charged Pull-In | Short-range yank | Extended pull + stagger window | Setting up Braton's heavy slam |
| Aerial Pounce | Single downward hit | Pounce chain with ground-slam finisher | Punishing recovery windows |
If you are starting a fresh run, the Zoopunk early game guide covers the first few hours of progression and pairs naturally with Rayton's skill order so you do not waste Skill Points on nodes you will respec later. The early game also unlocks the squadmate synergies that most solo players overlook, which is why the priority order below assumes you will switch heroes mid-campaign rather than stay locked to one.
Rayton Personal Skill Priority
For players running Rayton as their main, the community-recommended priority order focuses on Whip Range first, then Combo Extension, then Stagger Windows, with Pull-In Strength saved for the late-game because it shines most against bosses with weighty armor plates. This order reflects how the squad tag window scales with reach, since a wider whip hitbox means more opportunities to catch staggered elites mid-air.
The reasoning is that range compounds the value of every other node you unlock — a longer whip means you spend fewer i-frames dodging, which means more uptime, which means more skill point returns on every other upgrade you slot afterward. Combo Extension is the second priority because it converts that extra range into real damage windows, while Stagger Windows and Pull-In Strength become mandatory only once you reach the War Machine tier of encounters.
Rayton Equipment and Mod Slots
Rayton runs two mod slots on the twin whips themselves plus two prosthetic slots tied to his mechanical arm from the original F.I.S.T. toolkit. Community data suggests the high-value early mods are Shock Coil (chance to apply a brief stagger on crit) and Quick-Swap Reel (shortens the recovery on the pull-in by roughly 0.3 seconds, based on the demo footage timing). For prosthetics, the Reinforced Servo mod is a defensive pick that adds a small parry window to the dash cancel, which is invaluable on a hero whose defense relies on movement rather than raw armor.
Braton's Iron Fist Build: Tank, Stagger, and Burst Windows
Braton is the squad's frontline tank, and his iron fists follow a different upgrade philosophy than Rayton's whips. Where Rayton rewards positioning and combo knowledge, Braton rewards timing and aggression — the iron fist kit is built around landing a small number of extremely heavy hits inside the stagger windows that Rayton and Trixie set up.
The base kit is simple: a quick jab, a heavy hook, and a charged ground-pound that creates a shockwave on impact. As you push the fist kit up the upgrade ladder, the heavy hook gains a stagger-extension property that lets the squad pile on extra damage before the target recovers, and the ground-pound gains a shockwave radius increase that turns it into a room-clearing tool against packs of Mechanoid grunts.
| Fist Input | Base State | Upgraded State (Skills + Mods) | Best Use Case |
|---|---|---|---|
| Quick Jab | Single mid-damage hit | Chains into heavy hook | Filler during a combo rotation |
| Heavy Hook | High damage, long recovery | Stagger-extension property | Burst window setup |
| Charged Ground-Pound | Small shockwave | Wide shockwave + armor break | Mini-boss burst |
| Counter Stance | Parry into single hit | Parry into full combo | Punishing telegraphed attacks |
Braton Personal Skill Priority
The recommended skill path for Braton prioritizes Heavy Hook Damage first, then Stagger Extension, then Ground-Pound Radius, with Counter Window saved for the third or fourth respec because it only shines once you have already learned the boss attack patterns you are countering.
Players who swap into Braton mid-fight from Rayton or Trixie will get more value out of Stagger Extension early, because the assist-call window is when Braton is most likely to land his highest-damage hit. Players running Braton as a main should instead push Heavy Hook Damage first so every swing, including the filler jabs, scales upward.
Braton Gear and Prosthetic Mods
Braton's two fist mod slots favor Impact Plating (flat damage increase on heavy hits) and Recovery Coil (shortens the heavy hook recovery by a noticeable window). For prosthetics, the recommended path is Reinforced Knuckle (adds a small parry bonus to the counter stance) paired with Servo Brace (improves block stability while holding a heavy attack). That pairing turns Braton from a burst damage dealer into a frontline that can hold a chokepoint while the rest of the squad rotates cooldowns.
If you are still learning the parry and dodge windows that Braton's kit assumes, the Zoopunk combat basics guide covers i-frame economy, parry timing, and the dodge-cancel chains that make the iron fist kit work at higher difficulties.
Trixie's Aerial Tech Build: Support, Drone, and Swap Pressure
Trixie is the squad's aerial wildcard, and her kit is the most utility-heavy of the three heroes. Rather than stacking raw damage, Trixie's upgrade path focuses on cooldown reduction, drone uptime, and the flyover strafes that turn her into a ranged artillery piece when she is not actively swapping into melee.
The base kit rotates around three drone modes — Scout, Burst, and Shield — plus a flying-tech aerial kit that lets her hover, dive, and strafe from above. As you push the drone and aerial kits up the upgrade ladder, each mode gains a cooldown-reduction branch and a duration-extending branch, which means the late-game version of Trixie can keep one drone active almost permanently while rotating between the other two modes for specific encounter windows.
| Drone / Aerial Mode | Base State | Upgraded State (Skills + Mods) | Best Use Case |
|---|---|---|---|
| Scout Drone | Short reveal pulse | Extended reveal + tag-on-sight | Hidden add waves |
| Burst Drone | Single damage pulse | Triple-pulse chain on swap-in | Phase shift damage |
| Shield Drone | Brief absorb bubble | Longer duration + team-share | AOE telegraph survival |
| Aerial Strafe | Single flyover pass | Multi-pass with stagger | Ranged pressure during boss recovery |
| Hover Boost | Short hover window | Extended hover + air dash | Setting up cross-hero swaps |
Trixie Personal Skill Priority
For Trixie mains, the community-recommended path prioritizes Drone Cooldown Reduction first, then Aerial Strafe Damage, then Shield Drone Duration, with Hover Boost saved for the late-game because its value only compounds once you have already learned which attacks are safe to hover through.
The reasoning is the same as Rayton's whip range: cooldown reduction compounds into every other node you unlock, because shorter cooldowns mean more drone uptime, which means more damage windows, which means more value from every other skill point you spend afterward. Shield Drone Duration is a defensive pick that becomes mandatory in the War Machine tier, but it does not need to be maxed until you reach that content.
Trixie Equipment and Tech Mods
Trixie runs two aerial-tech mod slots and two drone mod slots, which is more mod real estate than either Rayton or Braton. The recommended early mods are Overclocked Capacitor (faster drone cooldowns across all three modes) paired with Hover Stabilizer (extends the safe-hover window by roughly 0.5 seconds, based on the squad short timing). For drone-specific mods, Target Painter (marks enemies so the squad's burst skills deal extra damage) and Drone Repair Matrix (drones slowly regenerate health while off cooldown) are the two community-favored picks.
The Target Painter mod in particular is where the squad-wide assist skill system overlaps with the gear layer — the mark it applies counts as a debuff, which means the shared assist skills that trigger on debuffed targets get more uptime across the whole squad.
Squad-Wide Upgrades: Shared Skills, Assist Pressure, and Mod Synergy
The shared assist skill track is the part of the upgrade guide that most squads undervalue, because the personal kits feel more impactful on a moment-to-moment basis. However, the assist skills are what let Braton land his shockwave slam right when Trixie calls her flyover strafe, and the cooldown reduction on those assists compounds across every encounter in the run.
The shared track has three branches: Swap-In Burst (damage bonus when entering a fight via tag), Assist Call Cooldown (faster access to cross-hero cooldowns), and Tag Chain Extension (longer combo windows after a tag). Community data from the squad short shows that a well-timed assist call — Trixie flying in to strafe while Braton is mid-slam — can chain into a stagger extension window that the squad would not otherwise have access to.
| Shared Assist Skill | Base Effect | Upgraded Effect | Best Squad Pairing |
|---|---|---|---|
| Swap-In Burst | +10% damage on tag-in | +25% damage on tag-in + combo starter | Rayton main swapping to Braton for boss |
| Assist Call Cooldown | 20s base cooldown | 12s base cooldown | Trixie flyover strafes every other phase |
| Tag Chain Extension | 1.5s chain window | 3.0s chain window | Any hero with a multi-hit finisher |
| Cross-Hero Buff | Single-target buff | Squad-wide buff on tag | Braton frontline + Trixie backline |
Players who want to go deeper on the cooldown math, ping etiquette, and how assists actually rotate in a co-op run can read the Zoopunk items and exploration guide, which covers the resource layer that fuels the assist skill upgrades themselves.
Mod Synergy Across the Squad
Mod synergy is where the upgrade guide gets genuinely interesting, because the right combination of personal mods, prosthetic mods, and squad-wide assist skills lets the squad clear content that would otherwise demand a much higher personal skill level. The clearest example is the Shock Coil + Tag Chain Extension combo: Shock Coil procs on Rayton's whip crits, the proc applies a brief stagger, and the Tag Chain Extension window stays open during that stagger, which means Braton can swap in and land his heavy hook during a window that base-game Rayton would have lost.
The other high-value cross-mod combo is Target Painter + Swap-In Burst: Trixie paints a target, then any hero who swaps in during the mark window gets the bonus damage on their first hit, which is the cleanest single-target burst combo in the current kit spread.
Common Upgrade Mistakes
The most common upgrade mistake reported by players across community channels is dumping early points into the visually impressive capstones before the supporting nodes are in place. A maxed Braton Ground-Pound is useless if Heavy Hook Damage and Stagger Extension are still at base, because the squad cannot reliably set up the window in which the ground-pound actually shines. The same applies to Trixie's Aerial Strafe Damage — without Drone Cooldown Reduction to keep her safe in the air, the strafe windows are too short to capitalize on.
The second most common mistake is ignoring the squad-wide assist track entirely. Players who max out their main hero's personal skill tree but never spend a point on shared assist skills find that the late-game encounters scale faster than the personal tree can keep up with, which is exactly the opposite of the smooth difficulty curve the modification culture is designed to deliver.
Frequently Asked Questions
What is the best skill to upgrade first in the Zoopunk skill guide?
The best first skill depends on your main hero, but the universal rule is to upgrade range, cooldown reduction, or duration nodes before damage nodes, because those nodes compound the value of everything you unlock afterward. Rayton players should max Whip Range first, Braton players should max Heavy Hook Damage first, and Trixie players should max Drone Cooldown Reduction first.
Can you respec your skill points in Zoopunk?
Yes, but only at specific vendor NPCs and only after a small story milestone. The community-recommended rule is to treat your first respec as a free experiment and your second respec as a planned commitment to a build, because the respec cost scales with the total number of skill points you have spent, not just the points you are resetting.
What is the best weapon mod for early-game Rayton?
The Shock Coil mod is the best early-game whip mod because it adds a chance-to-stagger on crit, which lets Rayton solo content that would otherwise require a full squad stagger chain. Pair it with Quick-Swap Reel to shorten the pull-in recovery, and you can run most early encounters without swapping heroes at all.
Do squad-wide assist skills cost the same currency as personal skills?
No, squad-wide assist skills use Squad Medals earned from co-op specific activities, while personal hero skills use Skill Points earned from leveling. The two tracks are deliberately separate so that players who spend more time on one hero are not punished in the other track, and so that co-op focused players still feel progression when they swap heroes.
How do body and prosthetic mods work in this Zoopunk equipment guide?
Body and prosthetic mods slot into each hero's prosthetic slots and reshape the entire neutral kit, while weapon mods only alter that specific weapon's behavior. The two systems stack, so modding both Rayton's prosthetic and twin whips produces a noticeably different feel from touching only one slot.